👉 NOTE #1: This lesson is in Draft mode, meaning only YOU, the course creator, can see this lesson. |
👉 NOTE#2: We do not currently offer any templates or graphics files to customize this Theme, you can read more on that here. |

You may want to adjust the colors of this theme to better match your brand colors. The first place to make this happen is inside the Style Editor. This is where you can update the hex codes of almost every element of your course..png) Edit the colors used throughout your course with the Style Editor
Edit the colors used throughout your course with the Style Editor
🔥 TOP TIP: We recommend picking one replacement color at a time and then updating it everywhere throughout the course.
For example, if you want to update the button colors from red (#ff5f74) to lime green (#bbff00), look for red in every section of the Style Editor and change that to lime green 👇👇👇.png)
Once you've updated your colors in the Style Editor, you'll want to start updating your course content and replacing your Theme's images.
The Overview page is the best place to start because you can replace your Course Header Image, which can give your course a completely different look and feel. .png) Upload your own course header graphic
Upload your own course header graphic
The text on your lesson modules on the Overview page are actually being pulled in from your Lessons, so that's where you'll want to head next.
You may want to add lessons, edit the existing lessons, or remove lessons. You can add or reorder lessons in the left-hand navigation. .png) Add new lessons and sublessons
Add new lessons and sublessons
If you need to delete a lesson, you can do this using the Actions menu in the top right-hand column of every lesson..png) Deleting a lesson
Deleting a lesson
Once you click into an existing lesson in your Theme, you'll find some content has already been added to make things easier for you. You can click into any blue text box and use our toolbar to add text, links, dividers, images, etc. .png) Use the toolbar to add text, links, dividers, images etc.
Use the toolbar to add text, links, dividers, images etc.
Use the "Add Content Block" button to add additional sections of content within your lessons. The "Add Text/Image" option is great for just that -- text and images!
To add any course videos or audio files, just add a new content block and select the "Add Embed Code" option. This is when you can embed videos from Vimeo, Wistia, YouTube, etc., or other audio players. .png) Add content blocks with text/images or embed code
Add content blocks with text/images or embed code
Paste your embed code into the Content Block window, and then you can also click "Preview embed" to see how it will look on your course page. 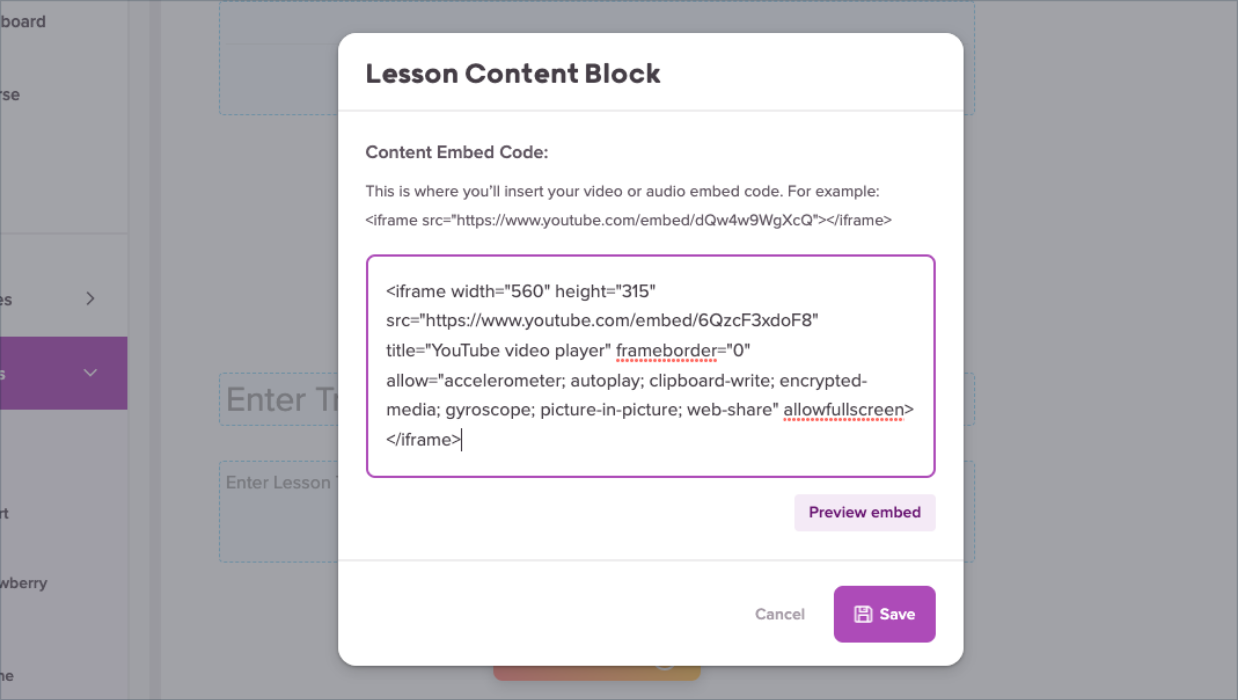 Pasting in embed code
Looks great to us! 🥳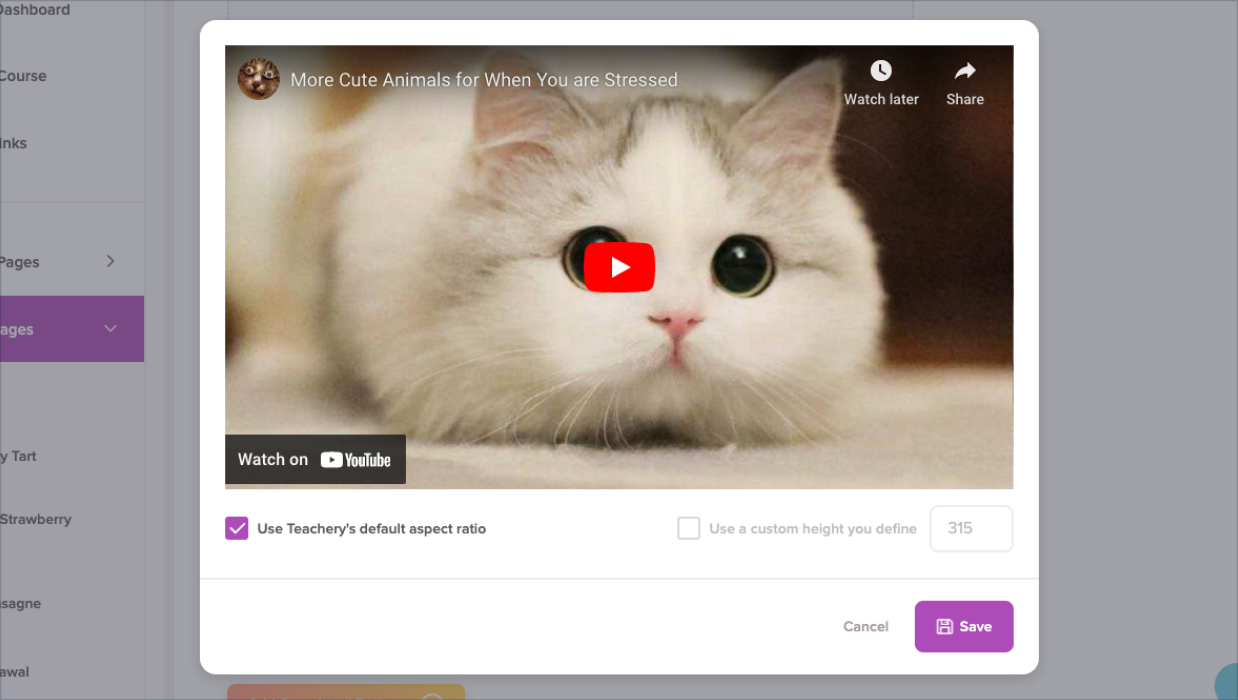 Previewing embed code
Once you update your lessons, you might start thinking about selling your course or product.
You'll want to edit the Demo Payment Page that comes with this Theme by updating the price of your offer. Just edit the price directly on the payment page to change your price, or if you want your offer to be recurring you can create a new payment page. .png) Update the price on the demo payment page, or create a new payment page
Update the price on the demo payment page, or create a new payment page
Also, remember that with ALL the pages inside your course, you can always go to the Actions menu to edit the page name and URL. .png)
Did you know this Theme comes with a Landing/Sales page? Pretty cool! You can always create a sales page using your website builder of choice, but if you want a simple option you can use our built-in Landing Pages. .png) Demo example of a landing page created in Teachery
Demo example of a landing page created in Teachery
You'll just want to replace the images throughout the page with your own images highlighting your course or product. Any blue content box you see can have content added to it using the toolbar, so let your imagination run wild!
There has been some custom CSS code pre-loaded in this Theme. If you ever want to add your own CSS or edit the code that came with this Theme, you can do so in the "Add Custom CSS" section of the Style Editor. .png)
🔥 TOP TIP: We recommend copying and pasting the original CSS code and saving it somewhere in case you ever want to restore your Theme to its original settings.
Every color in this Theme is set inside the Style Editor, with one exception. In the Lesson Page Body, you'll see we added an additional button style.
The color of this button is set using inline CSS, so we'll show you here how to update the color of that button if you choose.
When you're editing your Lesson Page, click on the content block that contains the buttons. Highlight the text in the box until you see this menu pop up and click the + icon. Click the 'More Rich ' icon (see below), followed by clicking the < > icon to view the source code..png) Highlight text in the resources section to bring up the menu choices
Highlight text in the resources section to bring up the menu choices.png)
When you're happy with your edits, click the </> icon at the top right of the HTML section to return to the text view and your page will automatically save with the new button color. .png) Switch back to text view to see the changes you've made
Switch back to text view to see the changes you've made
That's it!